Heat Exchanger Inspection
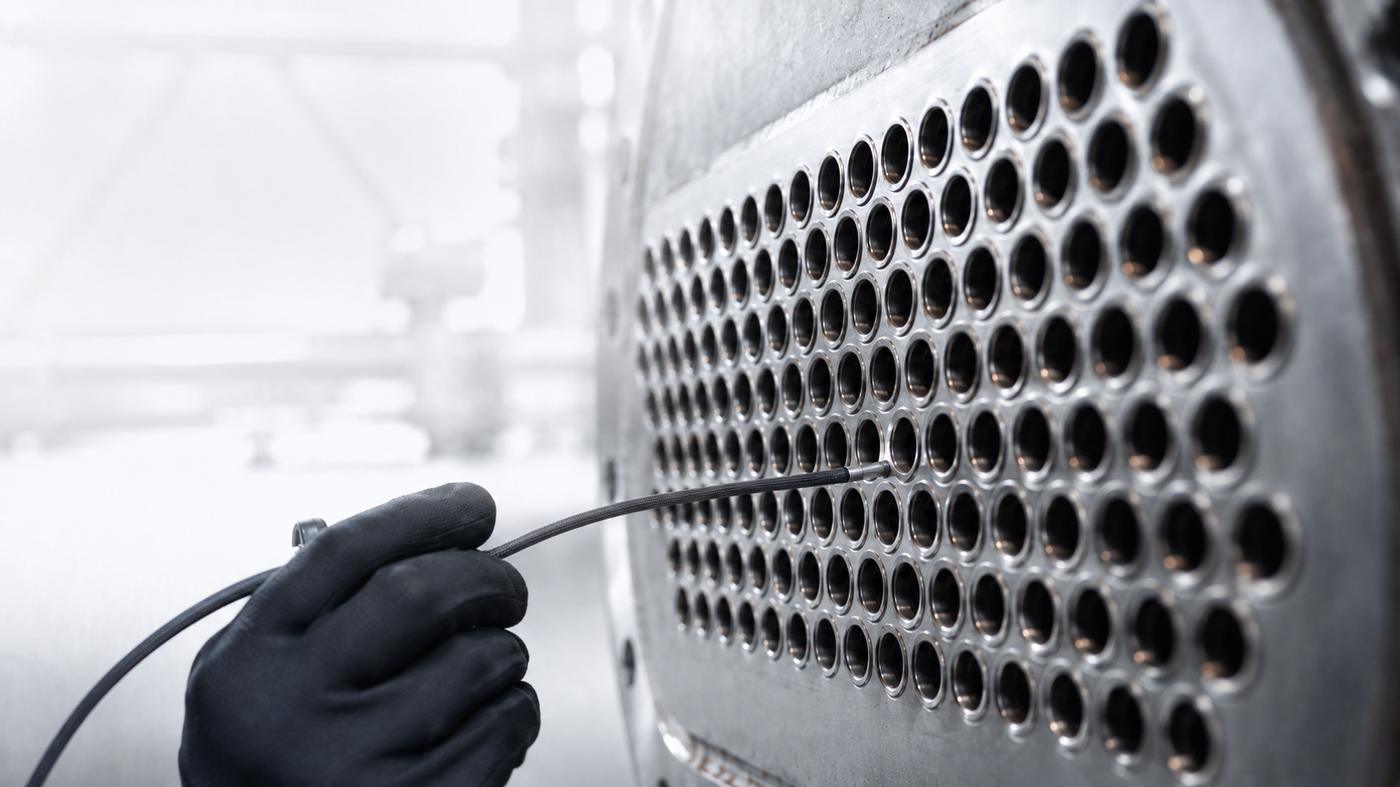
Industrial videoscopes for heat exchanger inspection, designed for visual inspection of tubes, weld seams, corrosion, cracks, deposits, blockages, and hard-to-access internal areas in power plants, chemical processing, oil & gas, and industrial maintenance applications.
Heat Exchanger Inspection with Industrial Videoscope
Heat exchanger inspection is an important maintenance and quality control process for power plants, chemical processing facilities, oil and gas plants, refineries, HVAC systems, marine equipment, and industrial production lines. Heat exchangers often contain long tubes, narrow channels, weld seams, tube sheets, bends, and internal surfaces that are difficult to inspect from the outside.
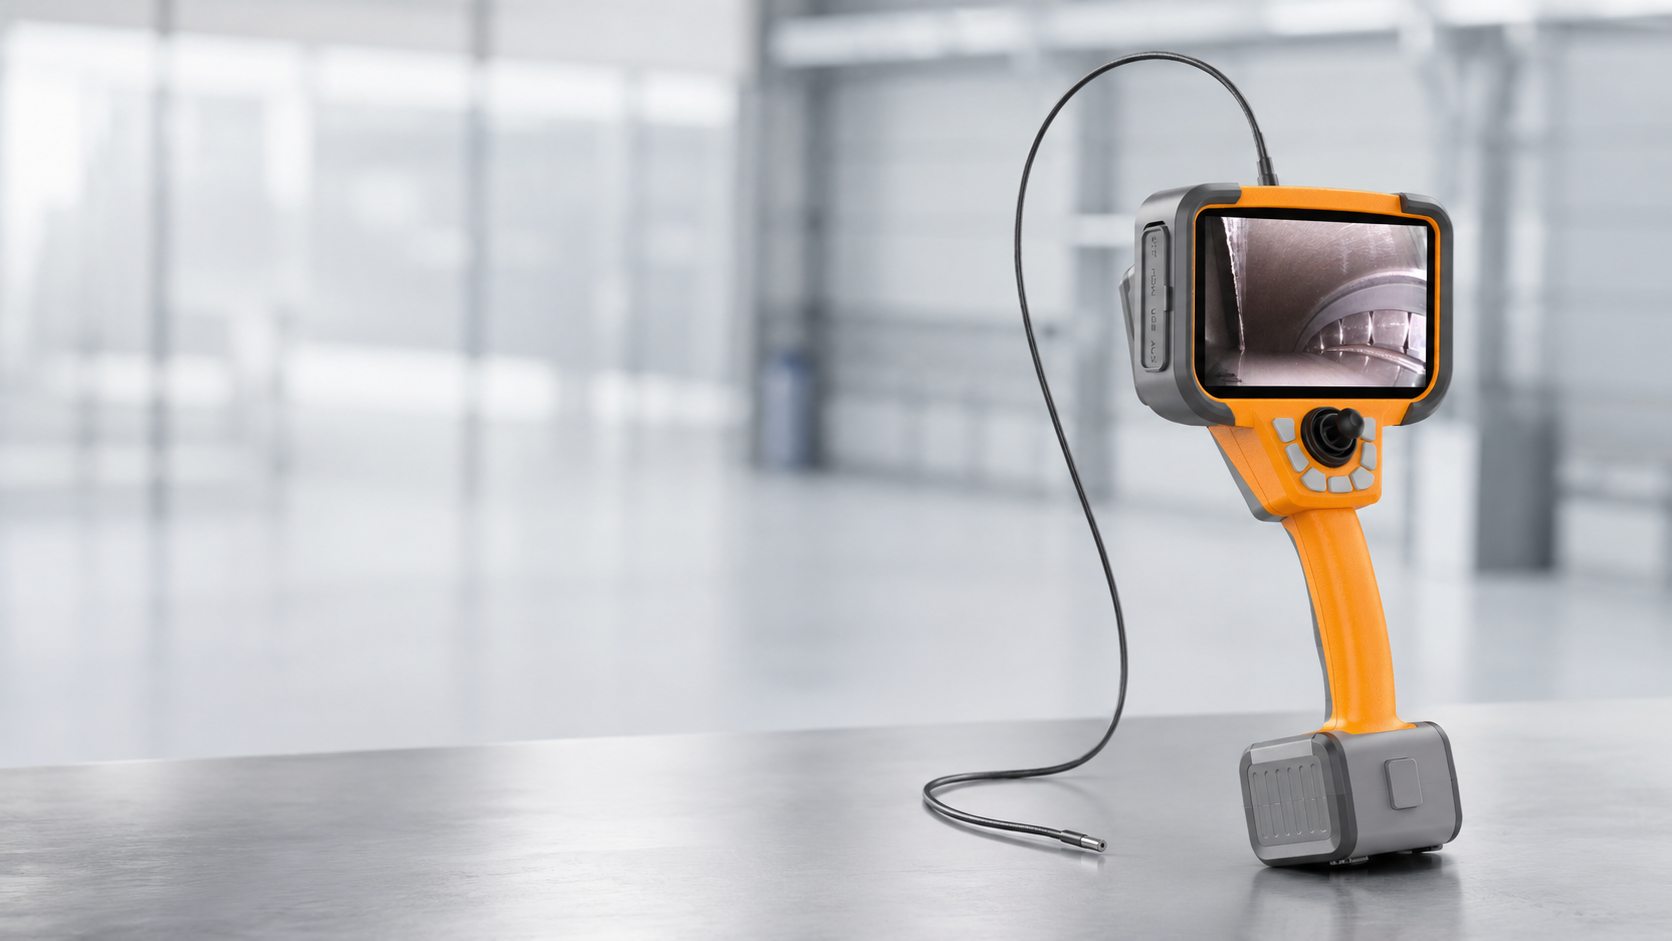
Industrial videoscopes provide a practical solution for internal visual inspection of heat exchangers without unnecessary disassembly. With flexible probes, high-resolution imaging, adjustable illumination, and photo or video documentation, videoscopes help maintenance teams identify corrosion, cracks, deposits, blockages, erosion, weld defects, and other visible internal problems.
Why Heat Exchanger Inspection Is Important
Heat exchangers are used to transfer heat between fluids, gases, or process media. If tubes or internal passages become blocked, corroded, cracked, or contaminated, the heat exchanger may lose efficiency or develop leakage risks. Regular inspection helps operators detect early signs of damage and plan maintenance before serious failure occurs.
Typical inspection goals include:
Checking tube walls for corrosion, erosion, cracks, or pitting
Inspecting weld seams, tube ends, and tube sheet areas
Identifying deposits, fouling, scale, sludge, or blockages
Checking internal cleanliness after cleaning or maintenance
Documenting visible defects for maintenance records
Reducing unnecessary dismantling and downtime
How Industrial Videoscopes Are Used in Heat Exchanger Inspection
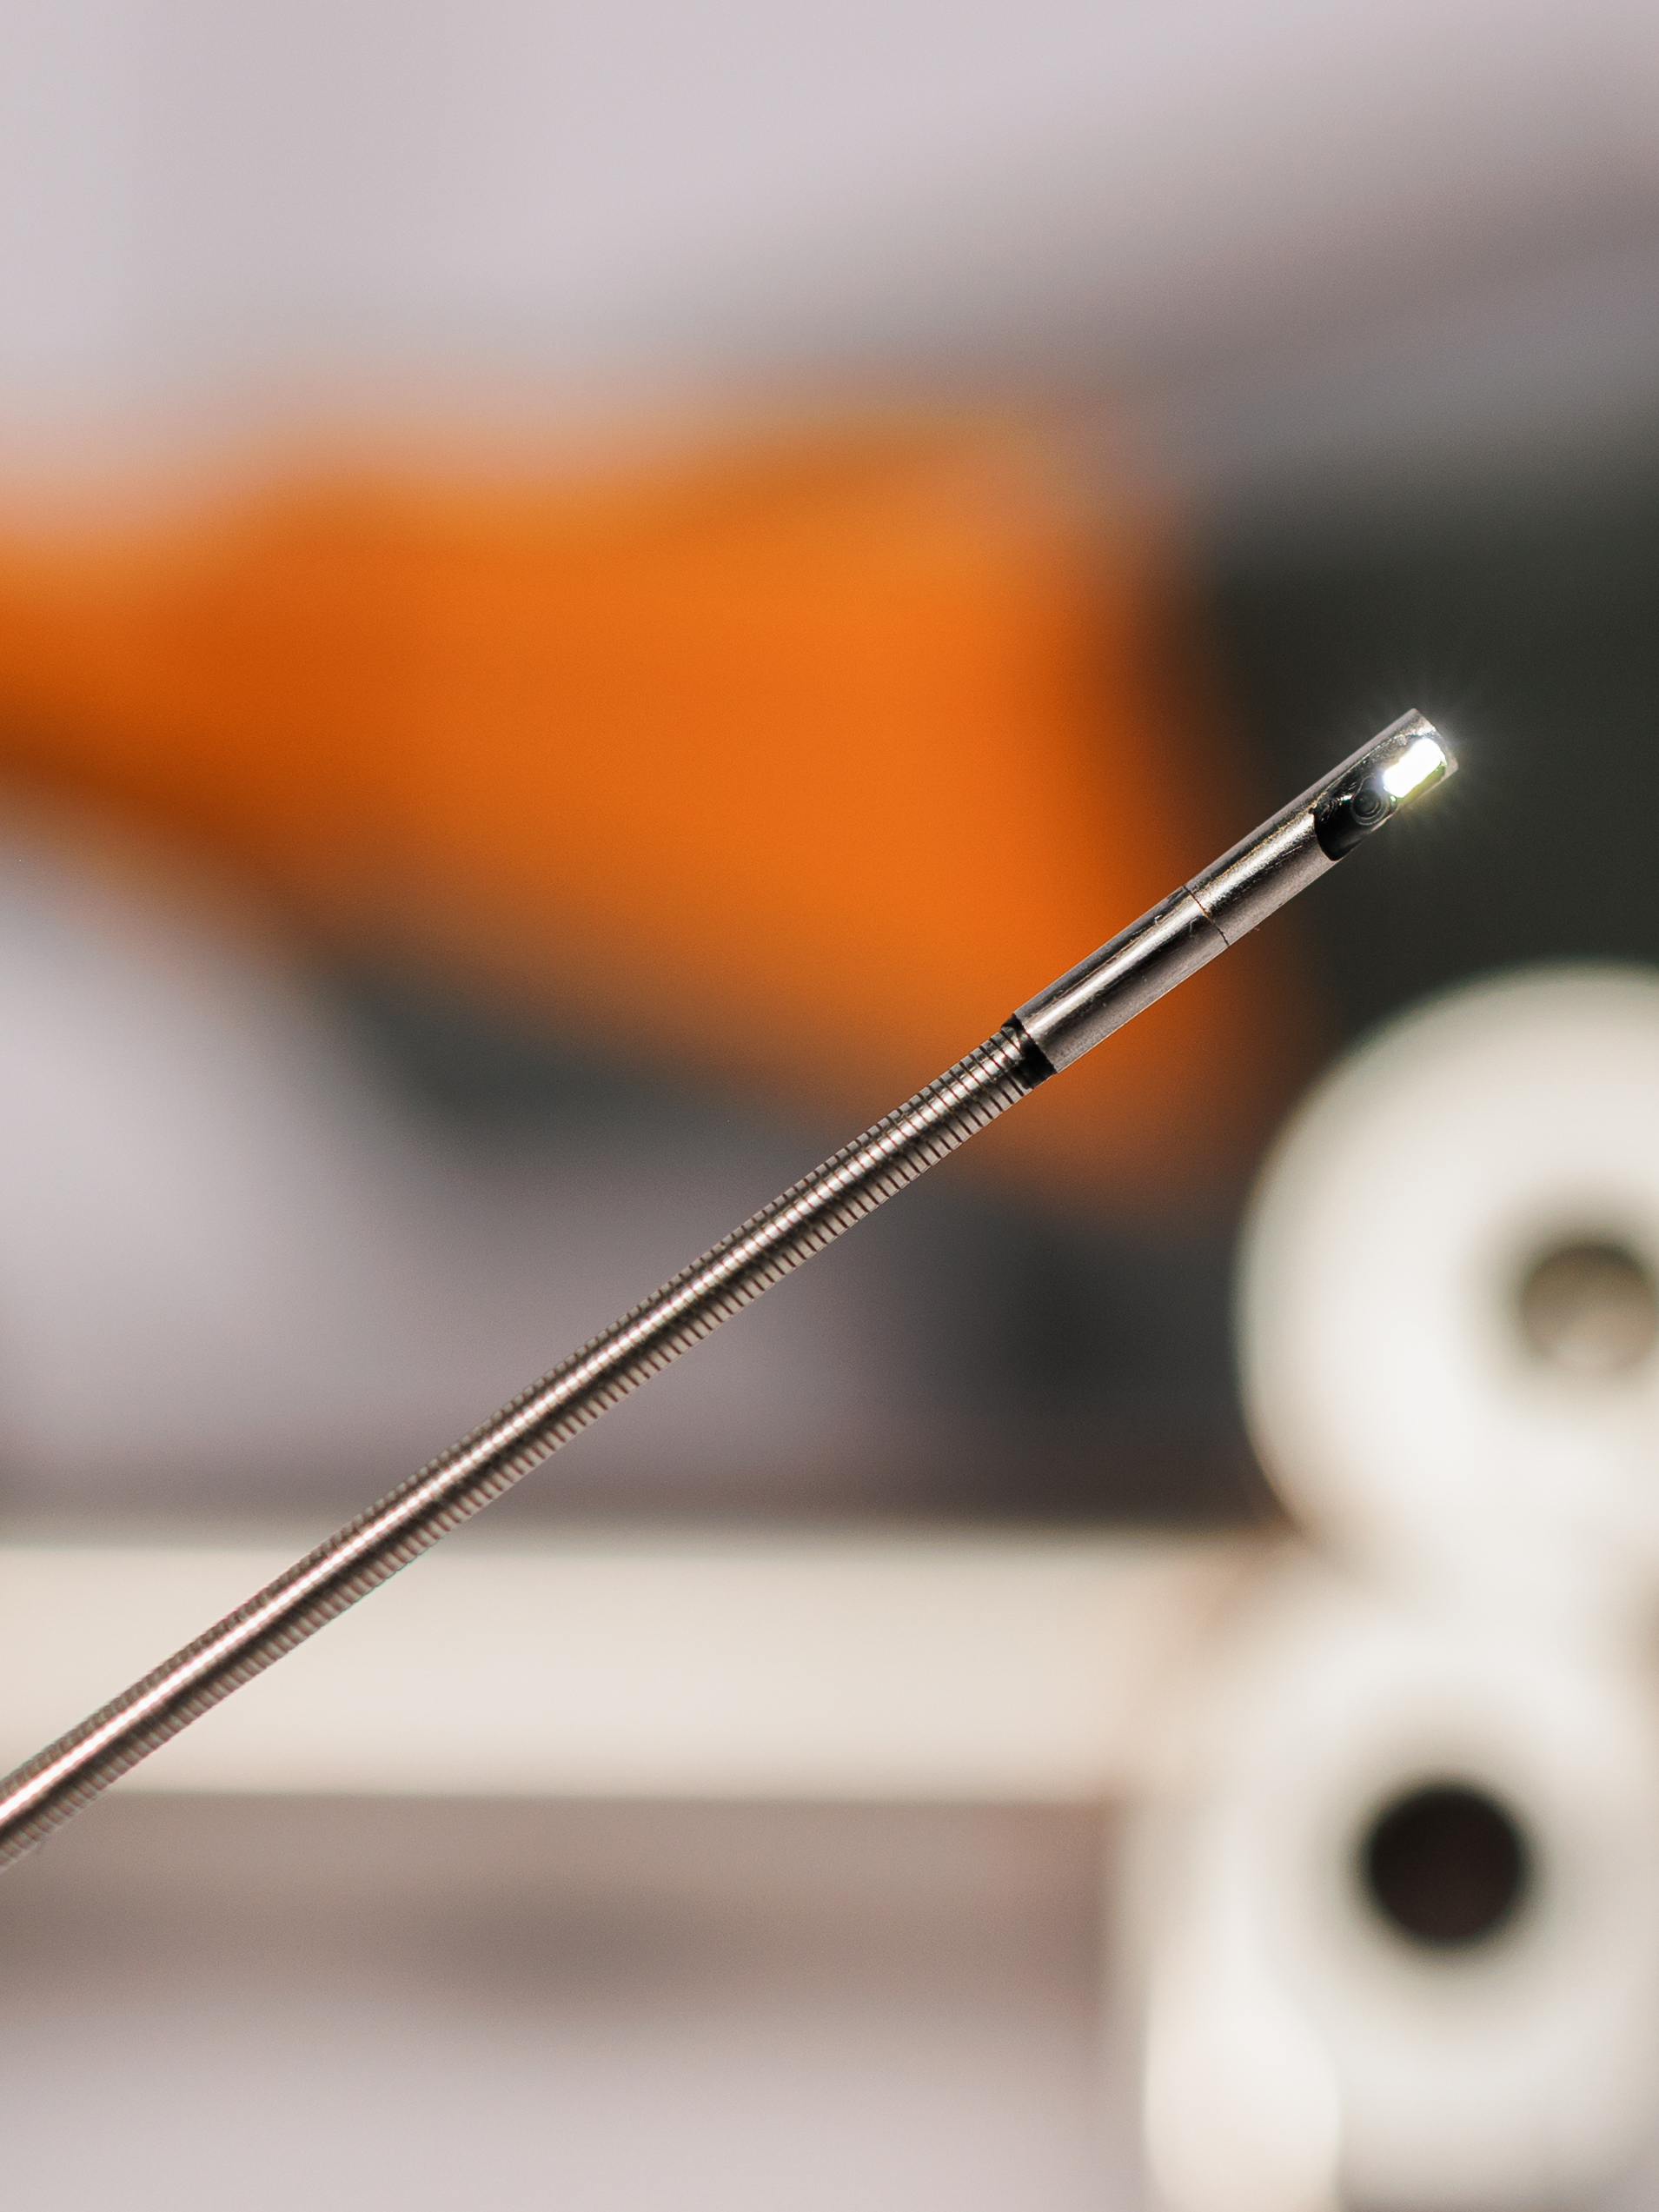
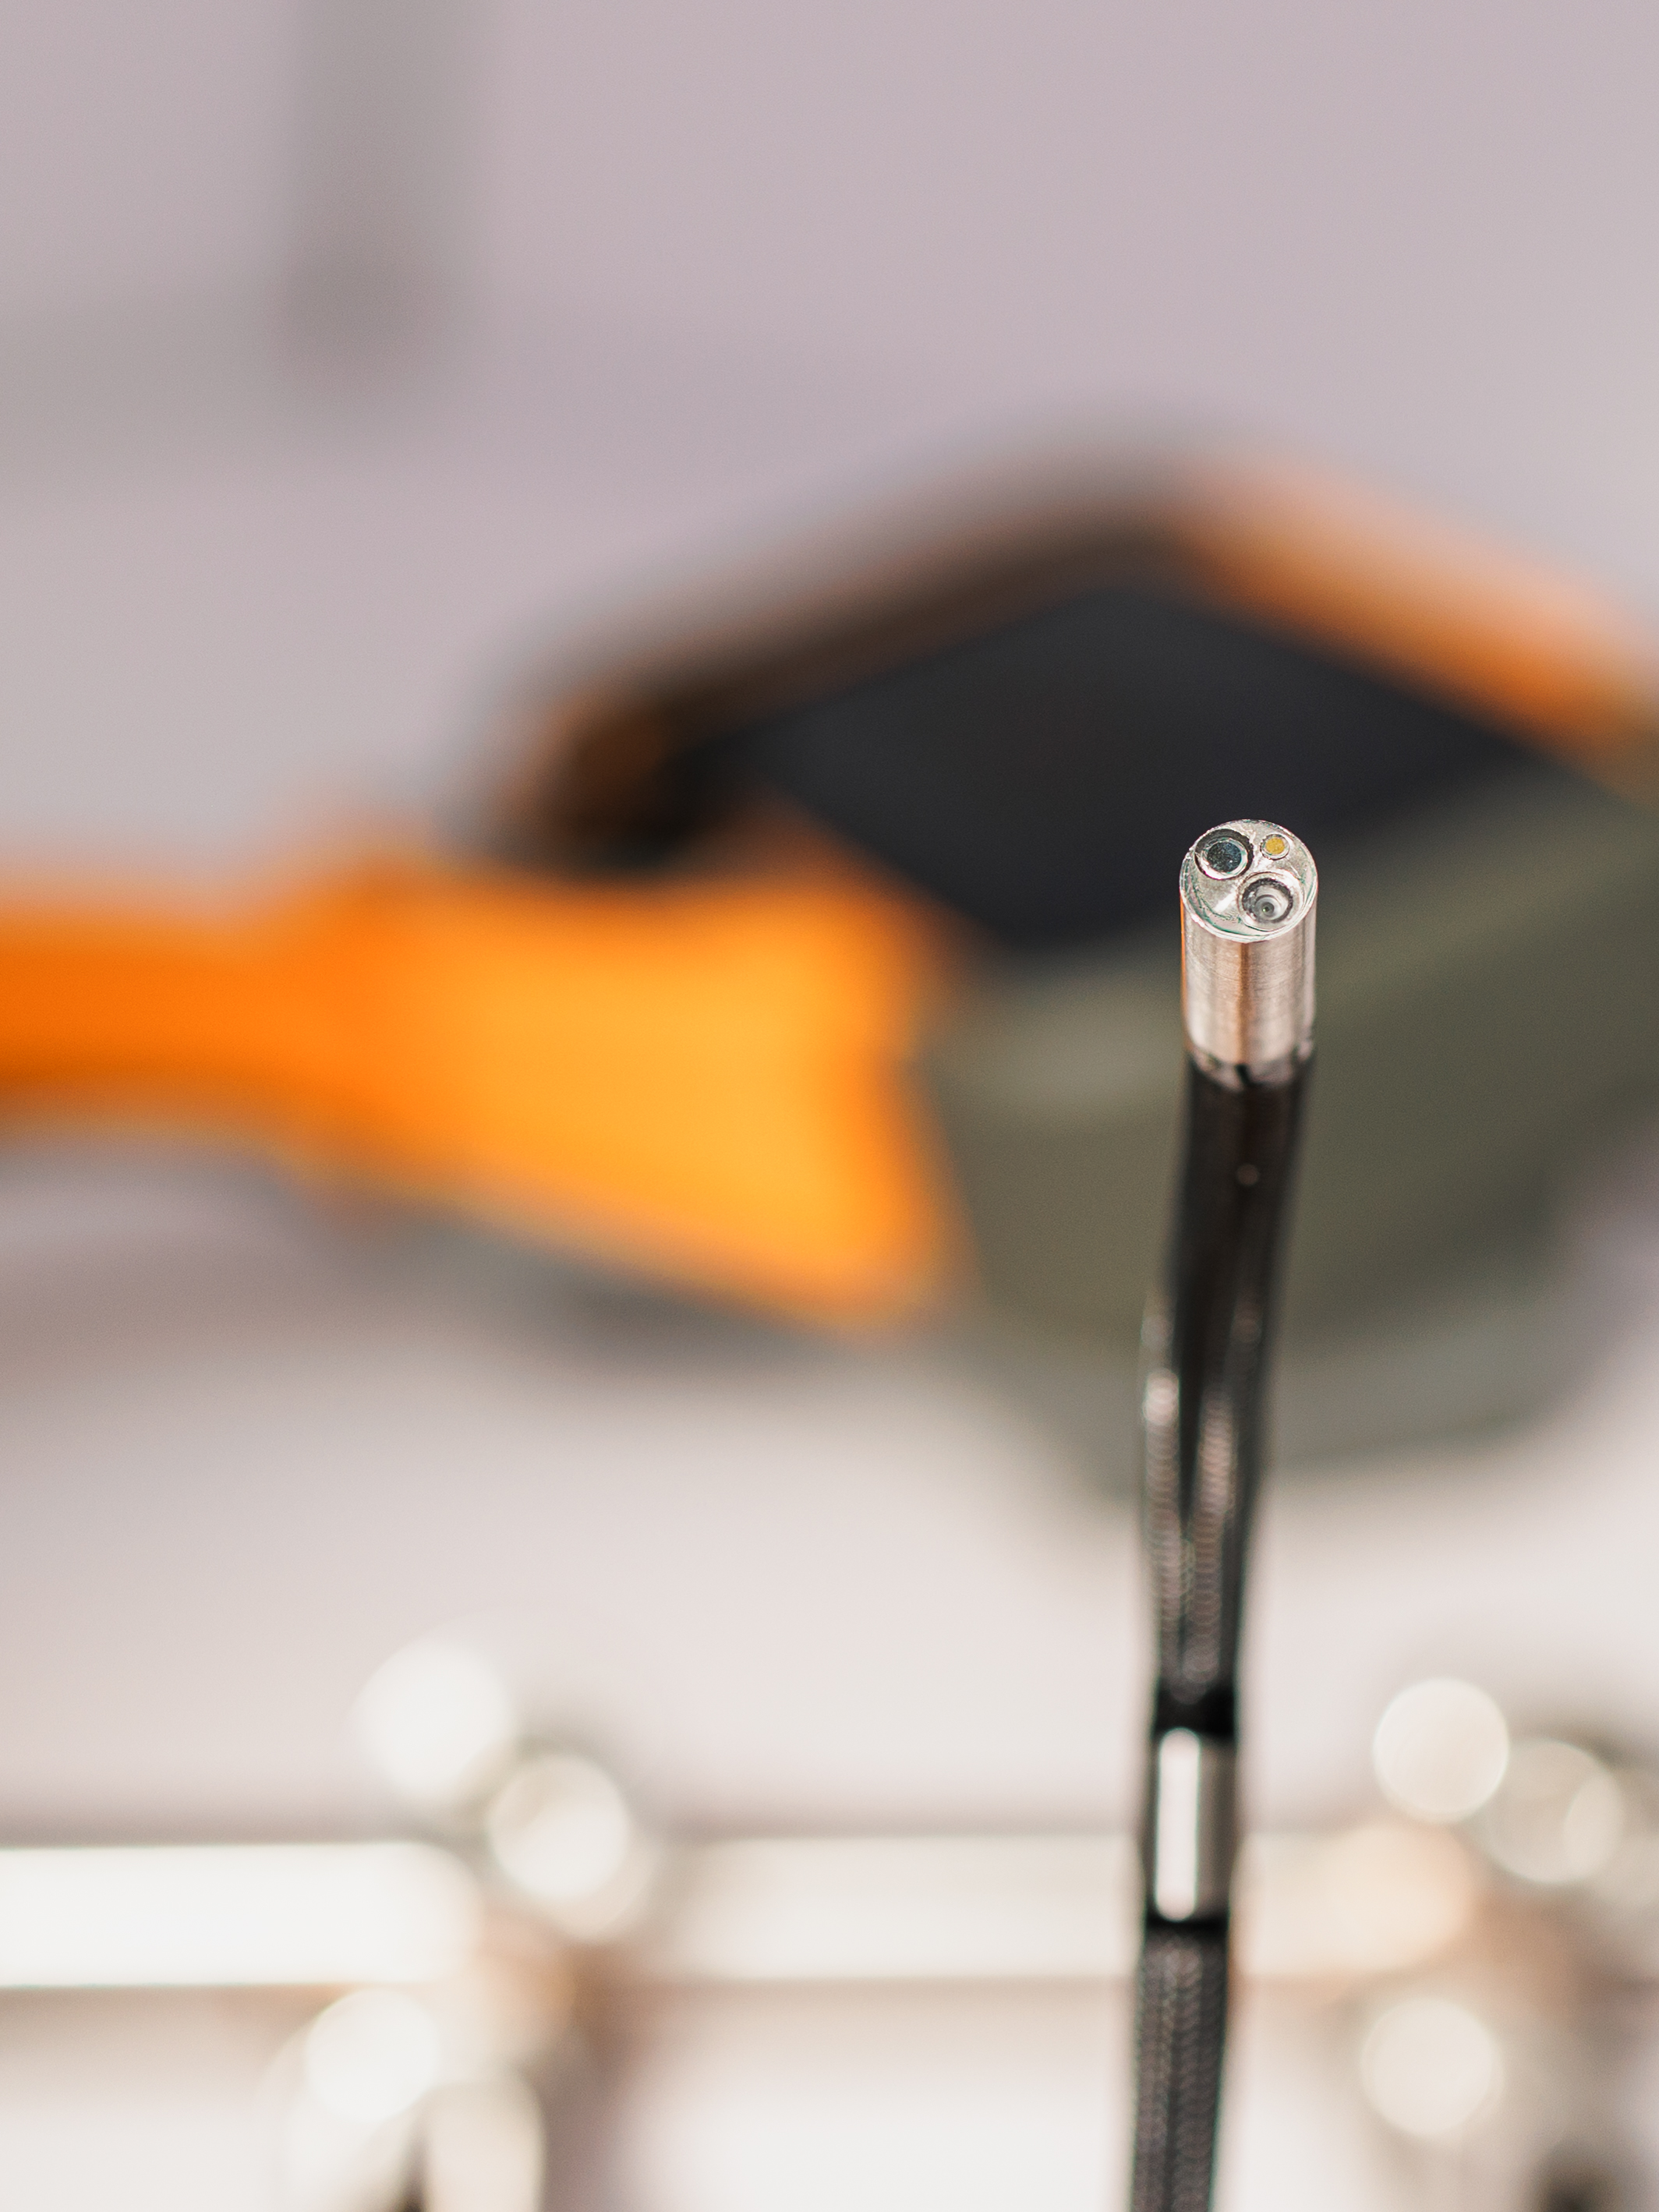
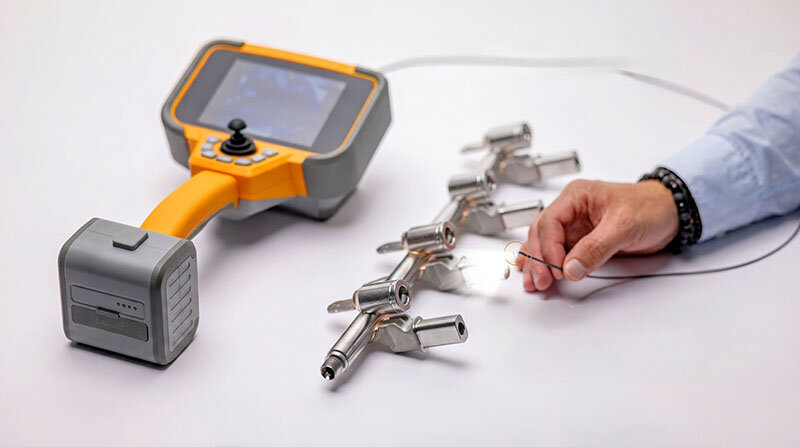
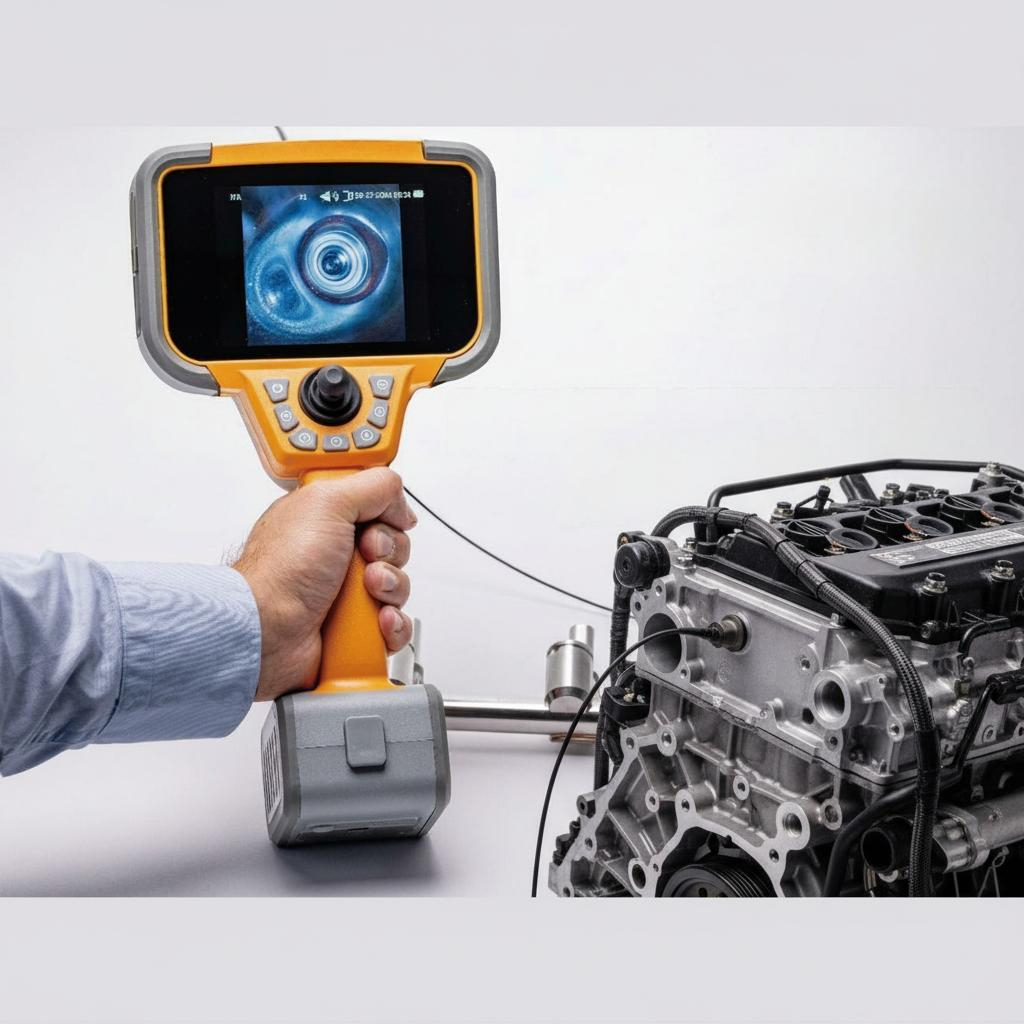
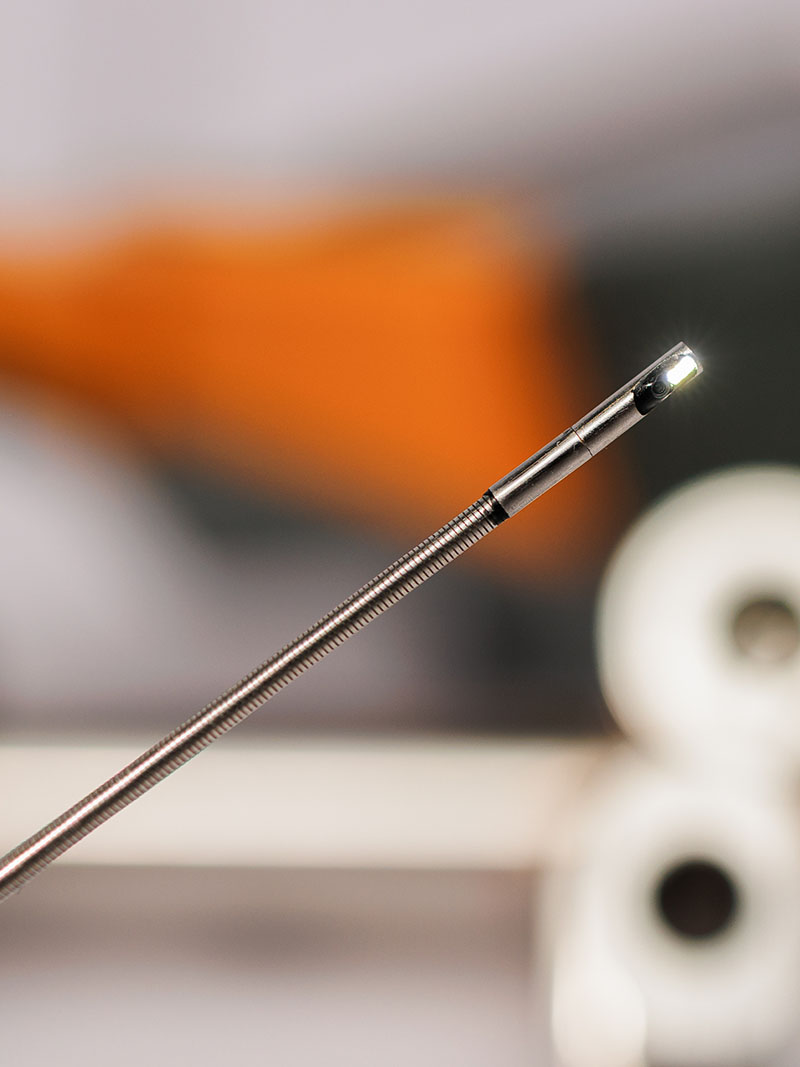
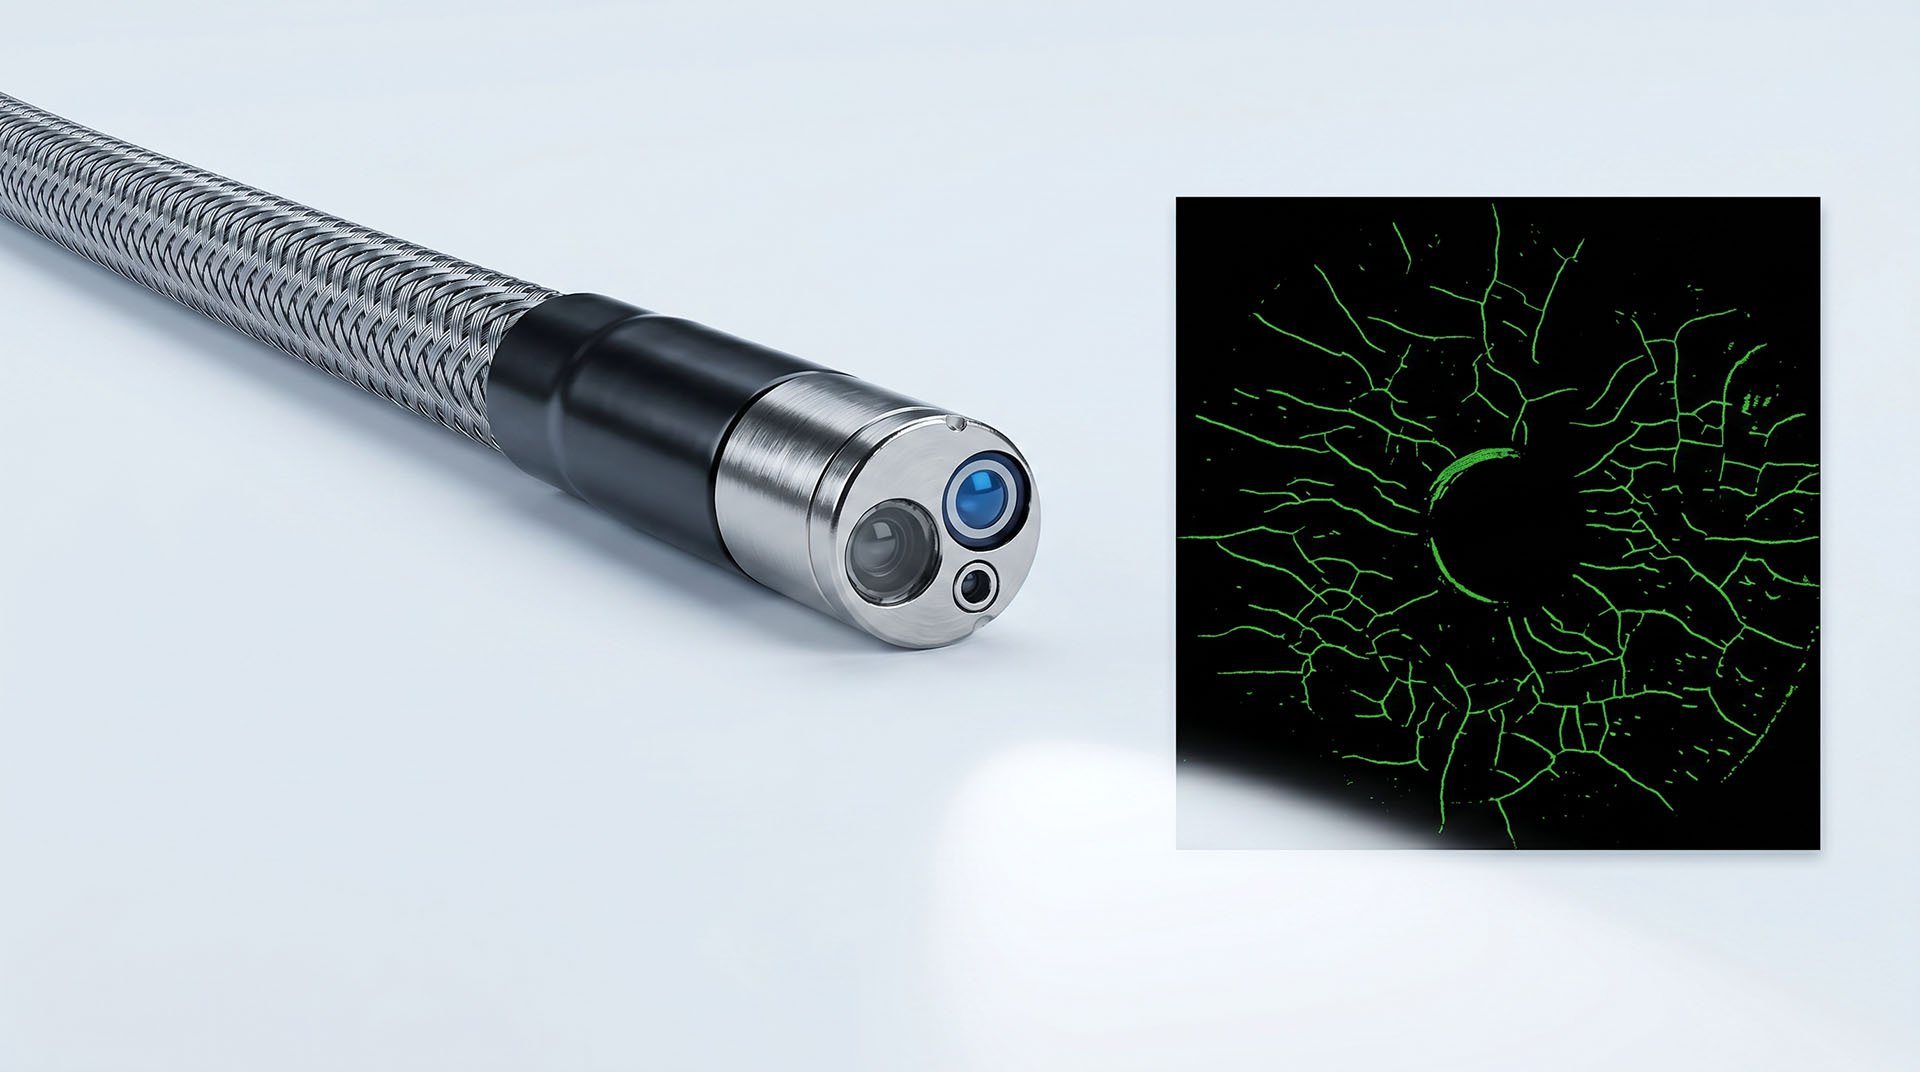
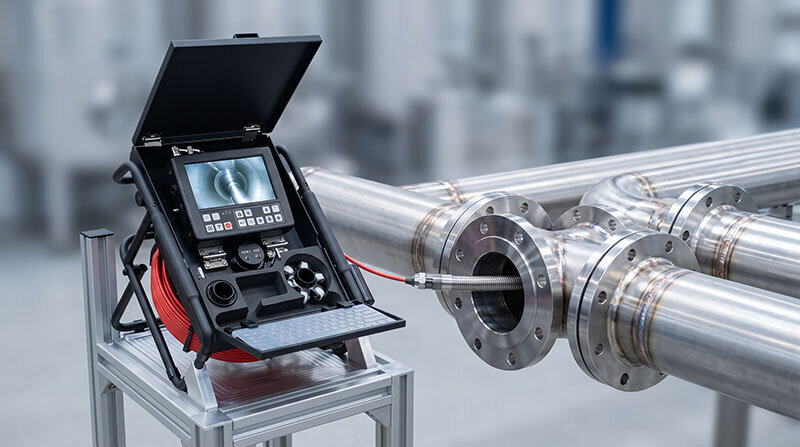
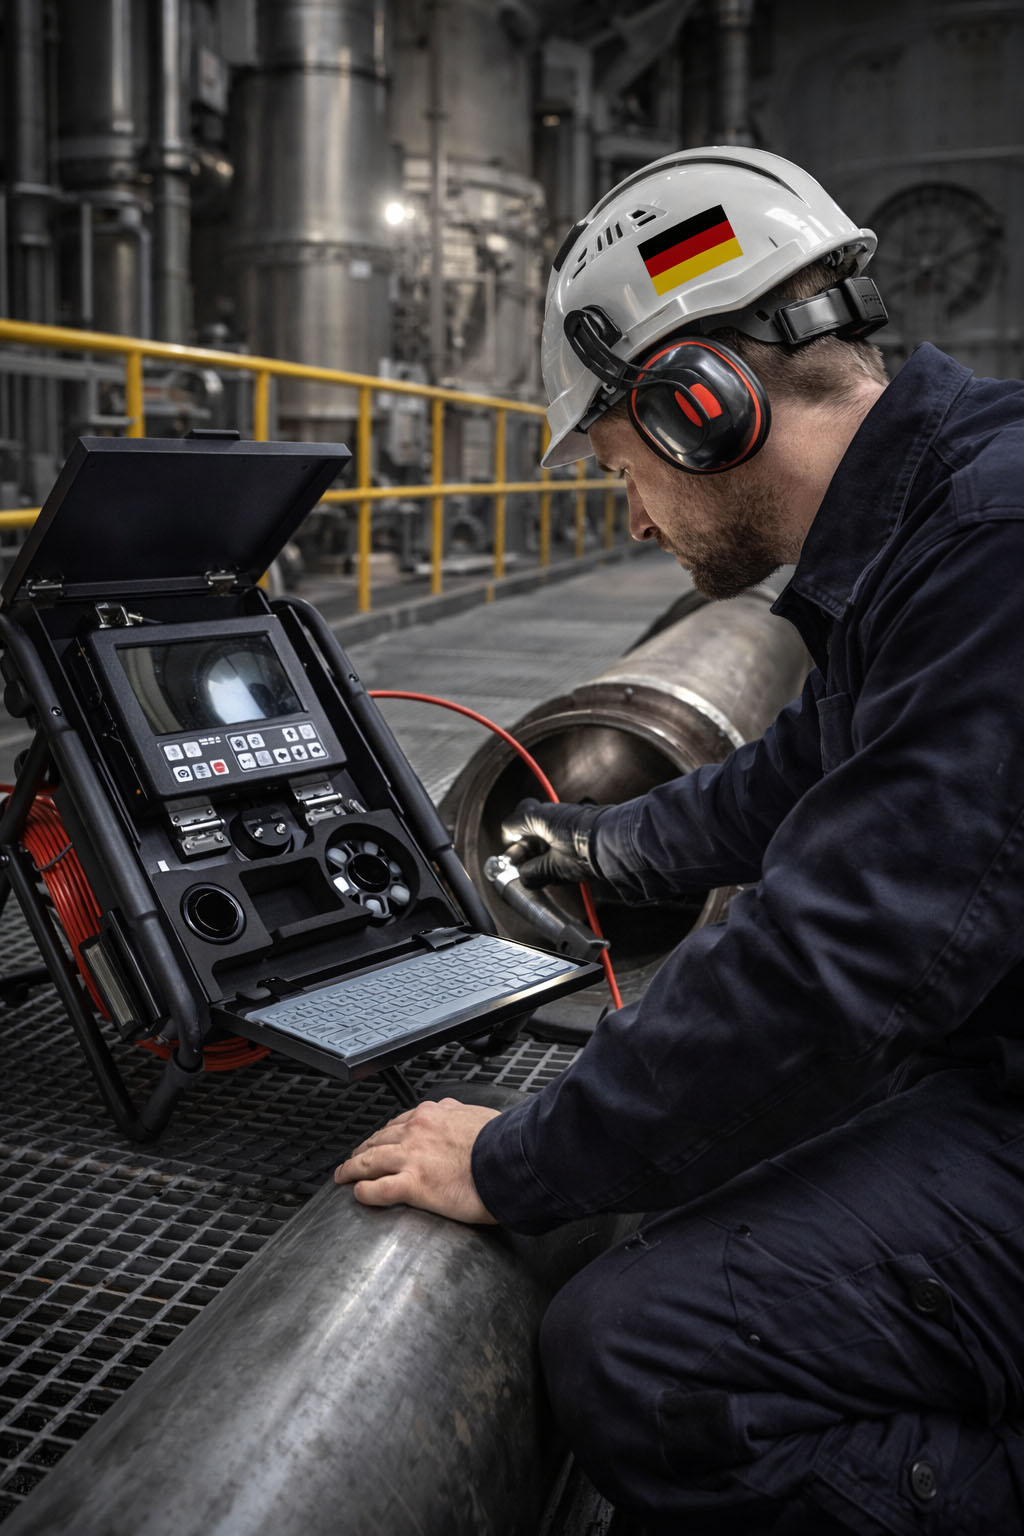
An industrial videoscope uses a flexible insertion probe with a camera and lighting at the distal end. The probe is inserted into heat exchanger tubes, access ports, inspection openings, or service areas. The operator observes the internal condition on the videoscope screen and captures images or videos for documentation.
Videoscope inspection is especially useful when the inspection target is located inside narrow tubes or complex internal structures. It allows operators to inspect internal surfaces directly and identify visible defects that may not be obvious from external inspection.
Typical Areas Inspected in Heat Exchangers
Heat exchanger tubes: inspection of internal tube walls, deposits, pitting, cracks, and blockages
Tube ends: inspection of wear, corrosion, deformation, and cleanliness near the tube opening
Tube sheet areas: inspection of cracks, corrosion, leakage marks, and sealing condition
Weld seams: inspection of visible weld defects, corrosion, pores, and surface irregularities
Bends and curved sections: inspection of erosion, deposits, and flow-related wear
Internal channels: inspection of sludge, scale, foreign objects, or process residues
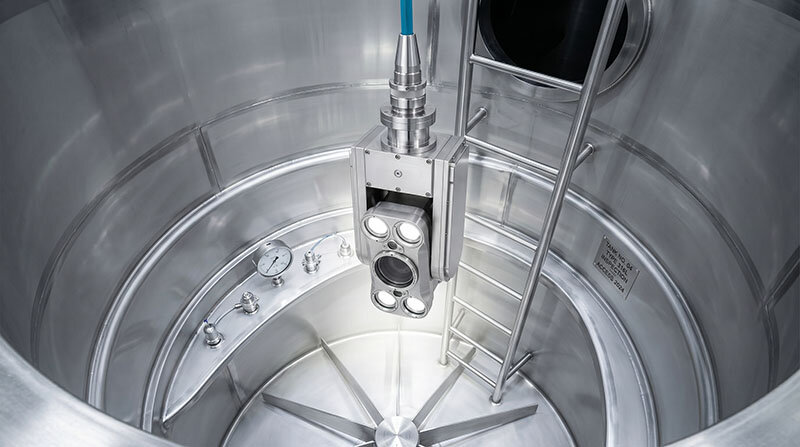
Shell-side access areas: inspection of accessible internal surfaces, baffles, and support structures
Common Defects Found During Heat Exchanger Inspection
1. Corrosion
Corrosion is one of the most common problems in heat exchangers. It may appear as pitting, surface roughness, oxidation, discoloration, or material loss. Corrosion can reduce tube wall thickness and may increase the risk of leakage if not detected early.
2. Deposits and Fouling
Deposits may build up inside tubes and channels due to process media, minerals, oil, scale, sludge, or chemical residues. Fouling can reduce heat transfer efficiency, increase pressure drop, and cause uneven flow distribution.
3. Blockages
Blockages may be caused by scale, sludge, foreign objects, biological growth, or process contamination. Videoscope inspection helps verify whether a tube or channel is open, partially blocked, or completely obstructed.
4. Cracks
Cracks may occur near weld seams, tube ends, bends, or high-stress areas. They can be caused by thermal cycling, vibration, corrosion fatigue, mechanical stress, or manufacturing defects. Videoscope inspection helps identify visible surface cracks in accessible areas.
5. Erosion
Erosion may occur when high-speed flow, particles, or aggressive process media wear down internal surfaces. It is commonly found in bends, inlet areas, and regions with turbulent flow.
6. Weld Defects
Weld seams may show visible defects such as pores, cracks, incomplete surface finish, undercut, corrosion, or irregular weld geometry. Videoscope inspection is useful when the weld area is located inside a tube, pipe, or restricted space.
7. Foreign Objects and Residues
Foreign objects, metal chips, cleaning residues, gaskets, scale fragments, or process particles may remain inside the heat exchanger after maintenance or production. Internal visual inspection helps verify cleanliness before operation.
Choosing the Right Videoscope for Heat Exchanger Inspection
Probe Diameter
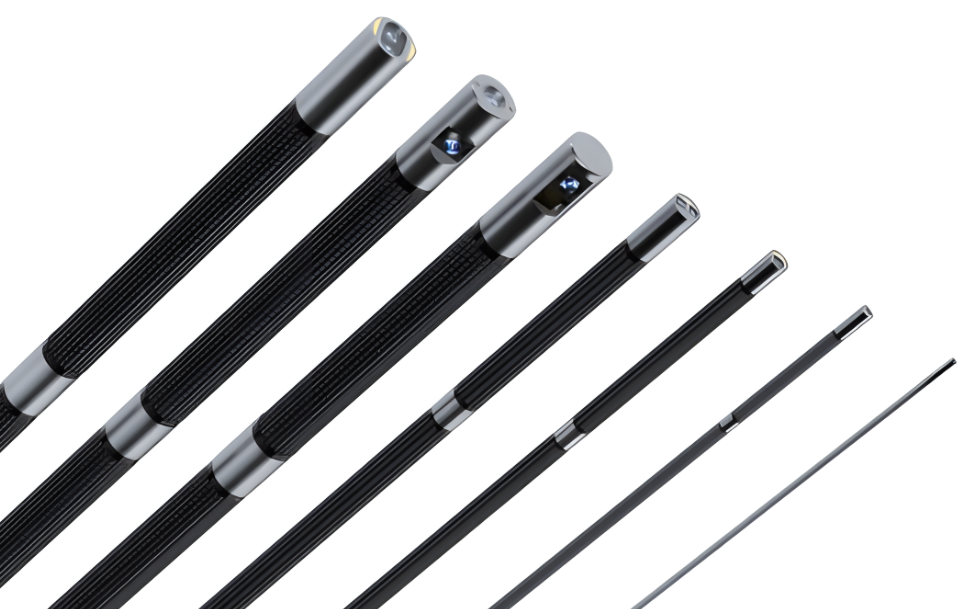
The probe diameter must be small enough to enter the heat exchanger tube or inspection opening. For narrow tubes, smaller probes may be required. When access allows, a larger probe is usually preferred because it can provide better image quality, stronger illumination, and improved durability.
Probe Length
The probe length should match the tube length or inspection depth. A probe that is too short cannot reach the target area, while an unnecessarily long probe may be more difficult to handle. For long heat exchanger tubes, longer probes may be required.
Articulation
Articulation helps the operator steer the probe tip toward side walls, weld seams, bends, and hidden areas. For straight tube inspection, articulation may not always be necessary, but for complex internal structures, a 2-way or 4-way articulating probe can improve inspection coverage.
Viewing Direction
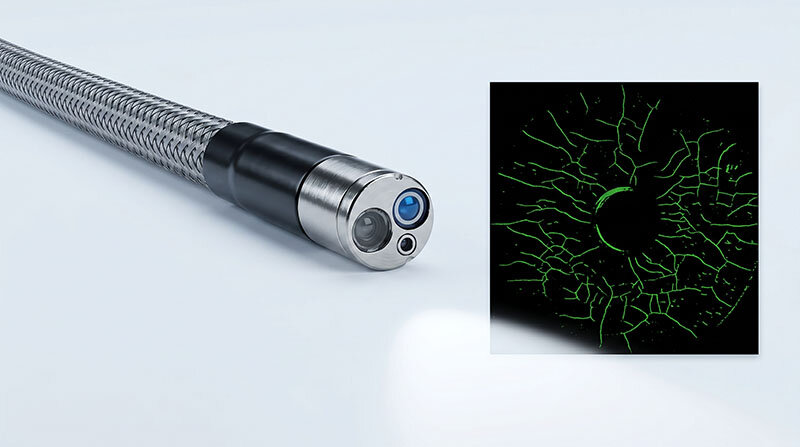
Forward-view probes are useful for inspecting directly ahead inside tubes and channels. Side-view or dual-camera probes can be helpful when the target area is located on the tube wall, weld seam, or side surface along the inspection path.
Image Quality and Illumination
Good image quality and adjustable brightness are important for identifying corrosion, cracks, deposits, and surface defects. Reflective metal surfaces may cause glare, so adjustable illumination helps improve visibility and documentation quality.
Typical Heat Exchanger Inspection Workflow
Confirm the inspection requirement: Identify the heat exchanger type, tube size, inspection depth, defect focus, and documentation needs.
Select the correct probe: Choose probe diameter, length, articulation, and viewing direction based on tube size and access conditions.
Check the videoscope system: Confirm image quality, brightness, battery level, storage capacity, and probe condition before inspection.
Prepare the inspection area: Make sure the heat exchanger is safe, cooled, depressurized, and suitable for inspection.
Clean the access area: Remove loose dirt, oil, scale, or residues that may affect visibility or damage the probe.
Insert the probe carefully: Avoid forcing the probe through sharp edges, blocked tubes, or tight bends.
Inspect internal surfaces: Check tube walls, weld seams, deposits, corrosion, cracks, bends, and blockages.
Capture images and videos: Record clear evidence of defects, suspicious areas, and reference conditions.
Document the findings: Save inspection results with tube number, location, defect type, image records, and recommended action.
Clean and store the probe: After inspection, clean the probe according to the manufacturer’s instructions and store it properly.
Benefits of Videoscope Inspection for Heat Exchangers
Allows internal visual inspection without unnecessary dismantling
Helps detect corrosion, deposits, cracks, erosion, and blockages
Supports faster maintenance decisions and condition monitoring
Improves inspection documentation with photos and videos
Helps verify cleaning results after maintenance
Reduces downtime compared with full disassembly
Supports quality control for manufacturing and repair processes
Common Challenges in Heat Exchanger Inspection
Heat exchanger inspection can be challenging because tubes may be long, narrow, dirty, reflective, or partially blocked. The correct videoscope configuration and careful handling are important for reliable inspection results.
Small tube diameters and limited access openings
Long inspection paths requiring suitable probe length
Deposits, scale, oil, or sludge reducing visibility
Reflective metal surfaces causing glare
Bends or restrictions that make probe movement difficult
Sharp edges or burrs that may damage the probe
Need for consistent tube numbering and defect documentation
Best Practices for Heat Exchanger Videoscope Inspection
Confirm tube inner diameter before selecting the probe
Use the largest suitable probe diameter when access allows
Do not force the probe through blocked or heavily scaled tubes
Adjust brightness to avoid glare on reflective tube walls
Capture both overview images and close-up defect images
Use consistent tube numbering and file naming for documentation
Clean the probe after exposure to oil, chemicals, sludge, or deposits
Check the inspection area temperature before inserting the probe
Train operators to identify corrosion, deposits, cracks, and normal surface texture
FAQ: Heat Exchanger Inspection with Industrial Videoscope
What is heat exchanger inspection?
Heat exchanger inspection is the process of checking tubes, weld seams, tube sheets, bends, channels, and internal surfaces for visible defects such as corrosion, cracks, deposits, erosion, blockages, and contamination.
Why use an industrial videoscope for heat exchanger inspection?
An industrial videoscope allows operators to inspect internal tubes and hard-to-access areas without unnecessary disassembly. It provides live visual inspection and supports photo or video documentation for maintenance records.
What defects can a videoscope find in a heat exchanger?
A videoscope can help identify visible defects such as corrosion, pitting, cracks, deposits, scale, sludge, blockages, erosion, weld defects, foreign objects, and cleaning residues in accessible areas.
Can videoscope inspection replace all other heat exchanger inspection methods?
No. Videoscope inspection is mainly used for visual inspection. It can complement other inspection methods such as pressure testing, eddy current testing, ultrasonic testing, leak testing, or dimensional inspection when required.
Which probe diameter is suitable for heat exchanger tube inspection?
The suitable probe diameter depends on the tube inner diameter and access condition. The probe must be small enough to pass through the tube, but when possible, a larger probe is preferred for better image quality, illumination, and durability.
Is articulation necessary for heat exchanger inspection?
Articulation is helpful when inspecting side walls, weld seams, bends, or complex internal structures. For simple straight tube inspection, a non-articulating probe may be sufficient, depending on the inspection requirement.
When is a side-view or dual-camera probe useful?
A side-view or dual-camera probe is useful when the target area is located along the tube wall or side surface. It helps inspect weld seams, corrosion, pitting, and deposits without relying only on forward-view images.
What should be checked before inserting the videoscope probe?
Before insertion, users should check tube diameter, tube condition, temperature, cleanliness, probe condition, battery level, storage capacity, illumination, and whether the inspection path is blocked or contains sharp edges.
Can high temperature damage the videoscope probe?
Yes. Videoscope probes should only be used within their specified temperature range. Heat exchangers should be cooled and verified before the probe is inserted.
How should heat exchanger inspection results be documented?
Inspection results should include tube number, inspection location, defect type, clear images or videos, inspection date, operator notes, and recommended follow-up actions. Consistent documentation helps compare future inspection results and plan maintenance.